Tutorial
How to set up iMic on your iPhone and Mac (step by step)
July 20, 2026 · 6 min read · By Forthright Tech
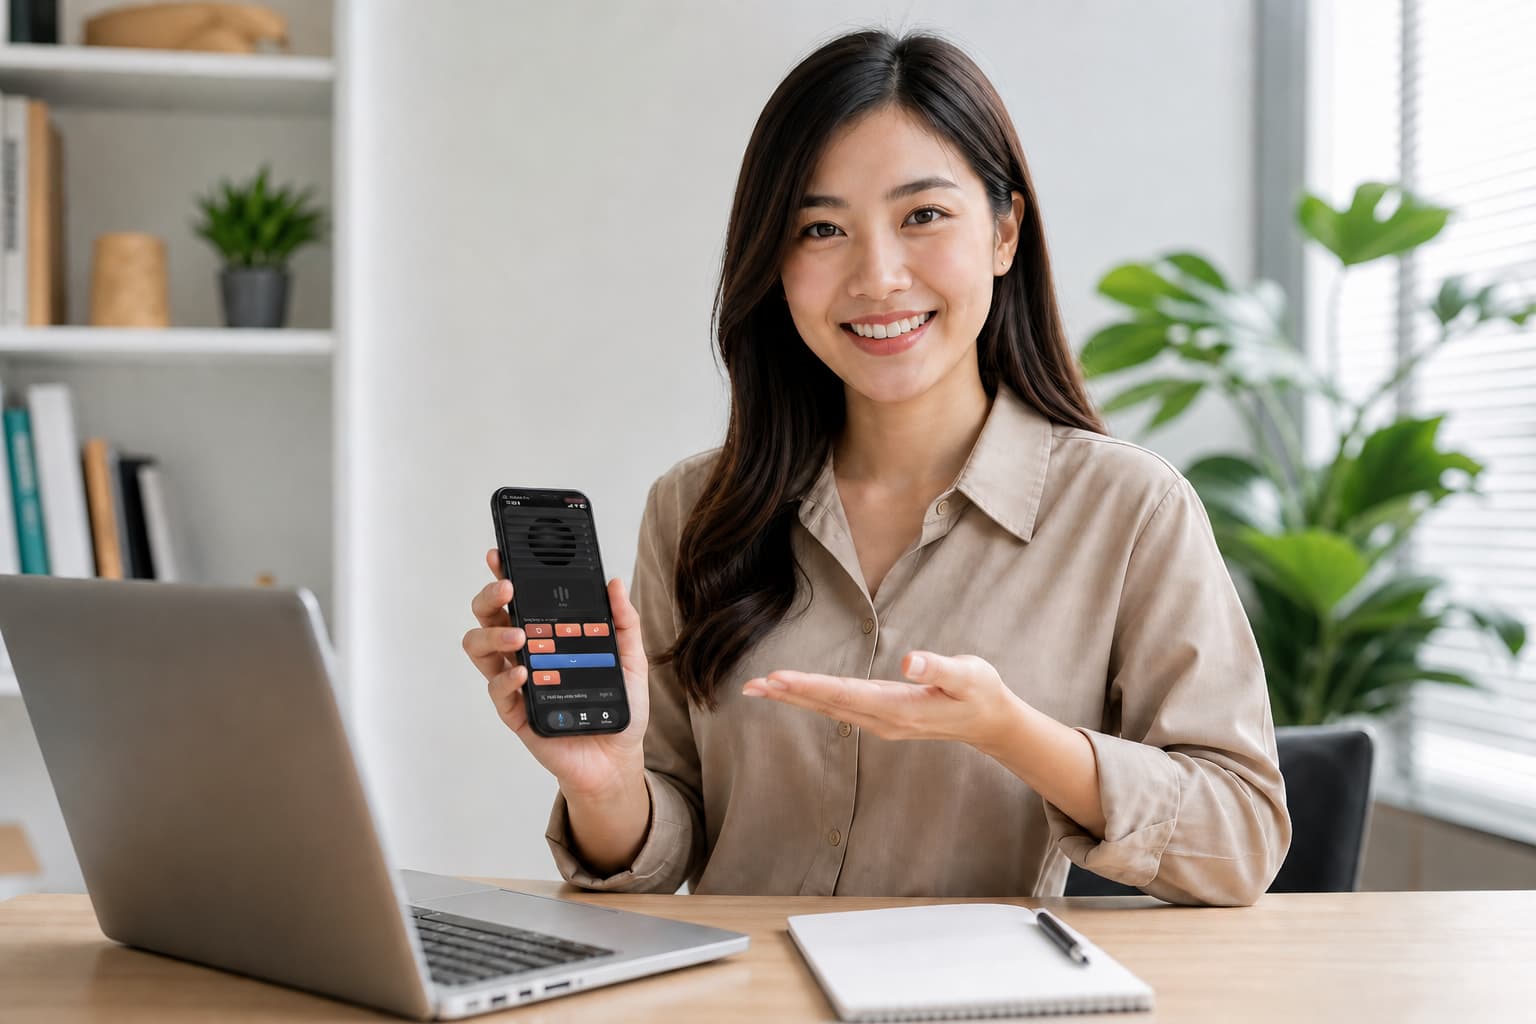
A first-time setup guide: install the apps, run the one-time driver install, pair with a 6-digit code, and start using your iPhone as your Mac's microphone.
Getting iMic running takes about five minutes, and you only do it once. After that, your iPhone and Mac recognize each other automatically every time. Here's the whole process, start to finish.
Before you begin
Make sure you have:
- A Mac on macOS 14 or later and an iPhone on iOS 17 or later.
- Both devices on the same Wi-Fi network. (This is how they find each other — and why your audio never has to touch the internet.)
That's the whole checklist. No account, no sign-up.
Step 1 — Install both apps
Install iMic for Mac and iMic for iPhone.
The Mac app lives in your menu bar — there's no Dock icon and no big window to manage. Look for the iMic icon up near your clock.
The first time you open the Mac app, it will do a one-time setup: it installs a small "virtual microphone" so that other apps have an "iMic" input to choose. macOS will ask for your administrator password to allow this — that's expected and normal, since adding a system audio device needs permission. Your audio system will restart for a second while it finishes.
You won't need to touch the Terminal or run any scripts — the app handles the install itself, and it keeps itself up to date from there.
Step 2 — Let your iPhone find your Mac
Open iMic on your iPhone. Because the two apps talk to each other over your local network, iOS will ask for Local Network permission the first time. Tap Allow — without it, your phone can't see your Mac.
If you ever miss the prompt, you can switch it on later in Settings → Privacy & Security → Local Network → iMic.
Step 3 — Pair with a 6-digit code
Now connect the two devices:
- On your Mac, iMic shows a 6-digit code.
- On your iPhone, type that same code in.
That's it. Behind the scenes, your devices exchange secure identity keys and remember each other, so this is a one-time step — they're trusted from now on. The next time you open both apps, they reconnect silently, no code needed.
Step 4 — Choose "iMic" as your microphone
Your phone is now a microphone your Mac can use anywhere. To actually use it, open the app you want to speak in — Zoom, Google Meet, Discord, OBS, ChatGPT, QuickTime, anything — and in its audio settings, pick "iMic" as the microphone.
Speak into your iPhone, and your Mac hears it. You'll see live level meters on both devices confirming your voice is getting through.
Optional — Set up the shortcut remote
iMic can also fire Mac keyboard shortcuts from buttons on your iPhone — push-to-talk, Spotlight, dictation, screenshots, Raycast, and more. If you want this, macOS will ask for Accessibility permission (System Settings → Privacy & Security → Accessibility), because running keyboard shortcuts requires it.
Good to know: this is only for the shortcut buttons. The microphone works fine without it — so if you just want great audio, you can skip this step entirely.
You're done
From here on, using iMic is effortless: open the apps, and they connect on their own. If your Wi-Fi blips or your phone goes to sleep mid-call, iMic reconnects automatically — and you won't have to re-select the microphone in your app.
One purchase covers two Macs, so you can run the exact same setup on your laptop and your desktop. Pair each once, and both just work.
Ready to try iMic?
Turn your iPhone into your Mac’s microphone and shortcut remote. $5.99/year with a 7-day free trial, or $9.99 for a lifetime license on two Macs.
Get iMic